Notes on using the File Path Editor in Maya.
Re-Pathing in Maya
Recently I was re-organizing the file structure of my storage drive, and that means I need to fix files that depends on absolute paths.
I am still unsure why there is no option for Maya to add a function to have textures use local relative path (or maybe there is…? If someone knows this please let me know)…
But at least there is a very quick way to re-path a Maya scene with broken paths in Maya, using the File Path Editor.
In my case, this is a static prop of a circus tent (from my capstone film) and all the texture is lost.
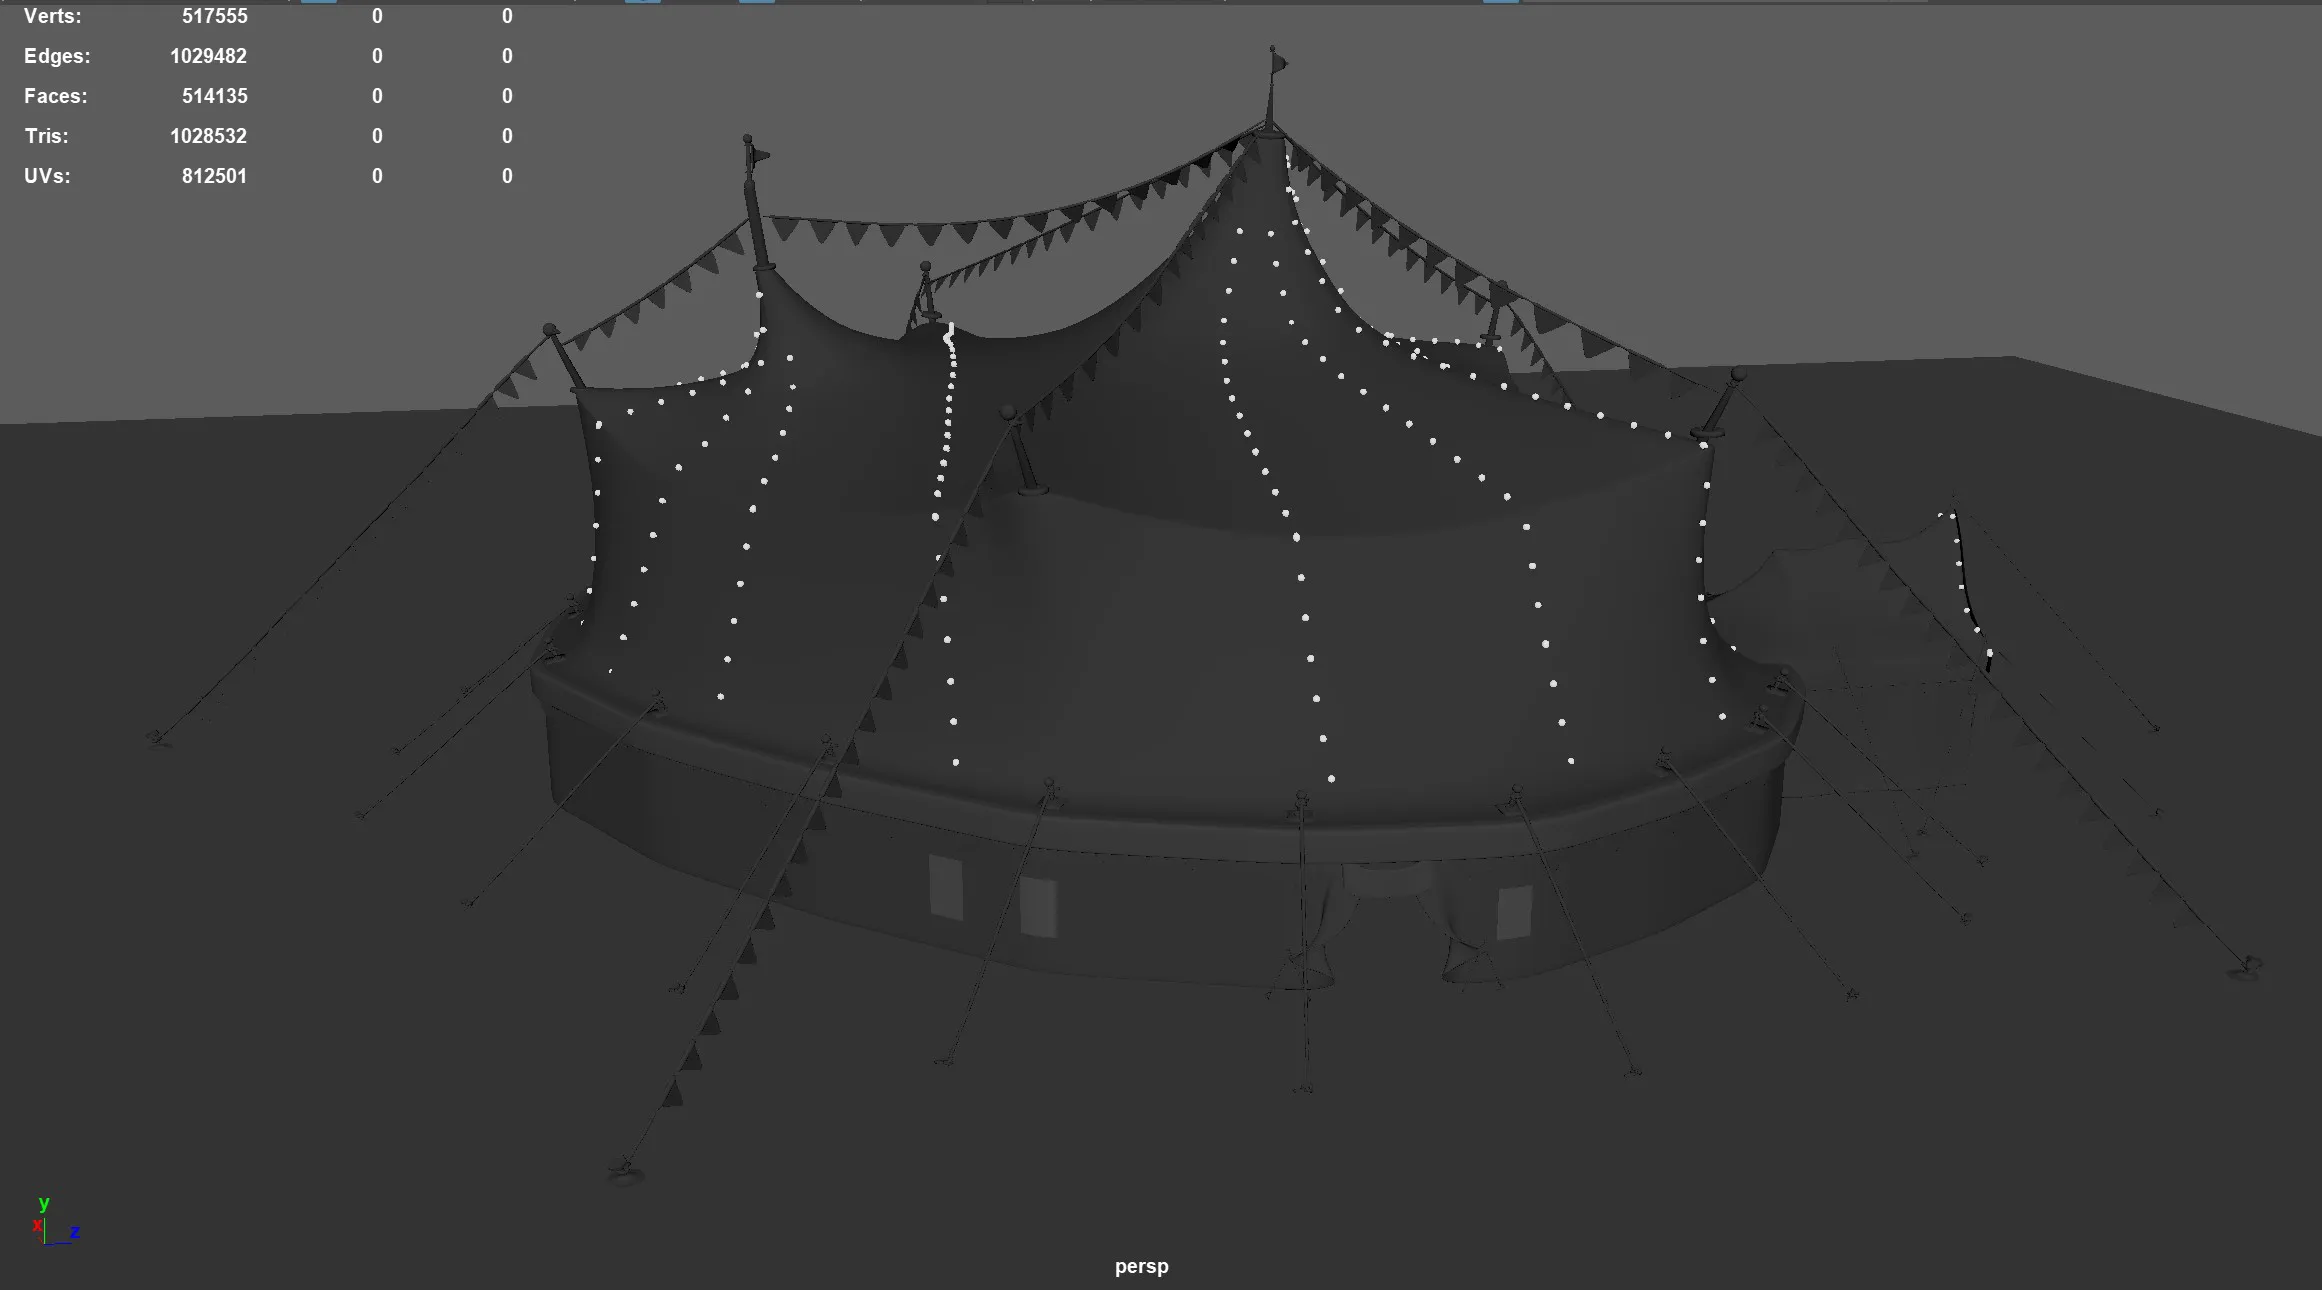 Untextured Tent.
All I need is to go to Windows - General Editors - File Path Editor.
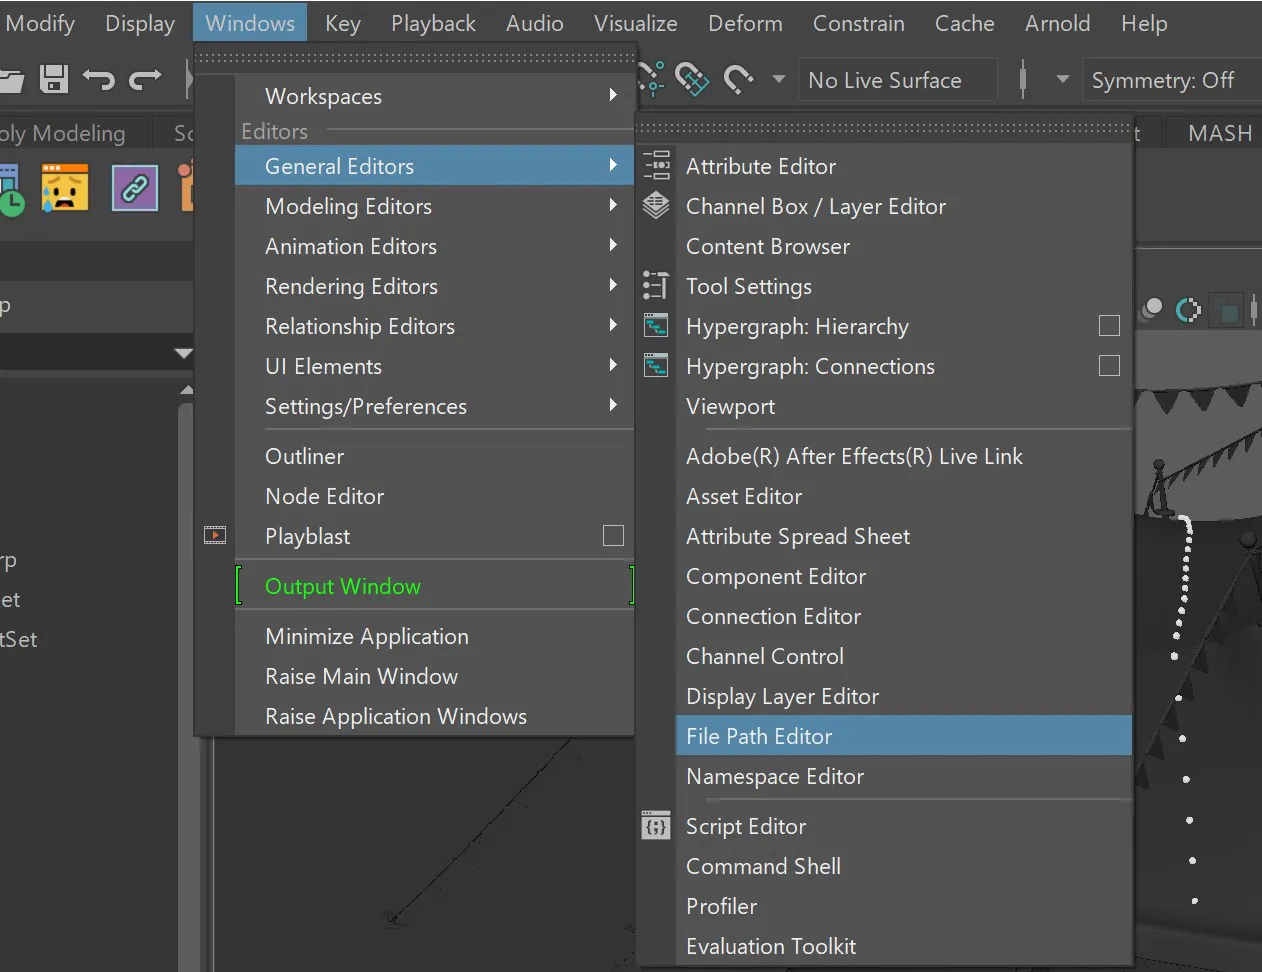 Location of File Path Editor.
If there are miss-linked texture or other resources, the problematic file path will be shown here.
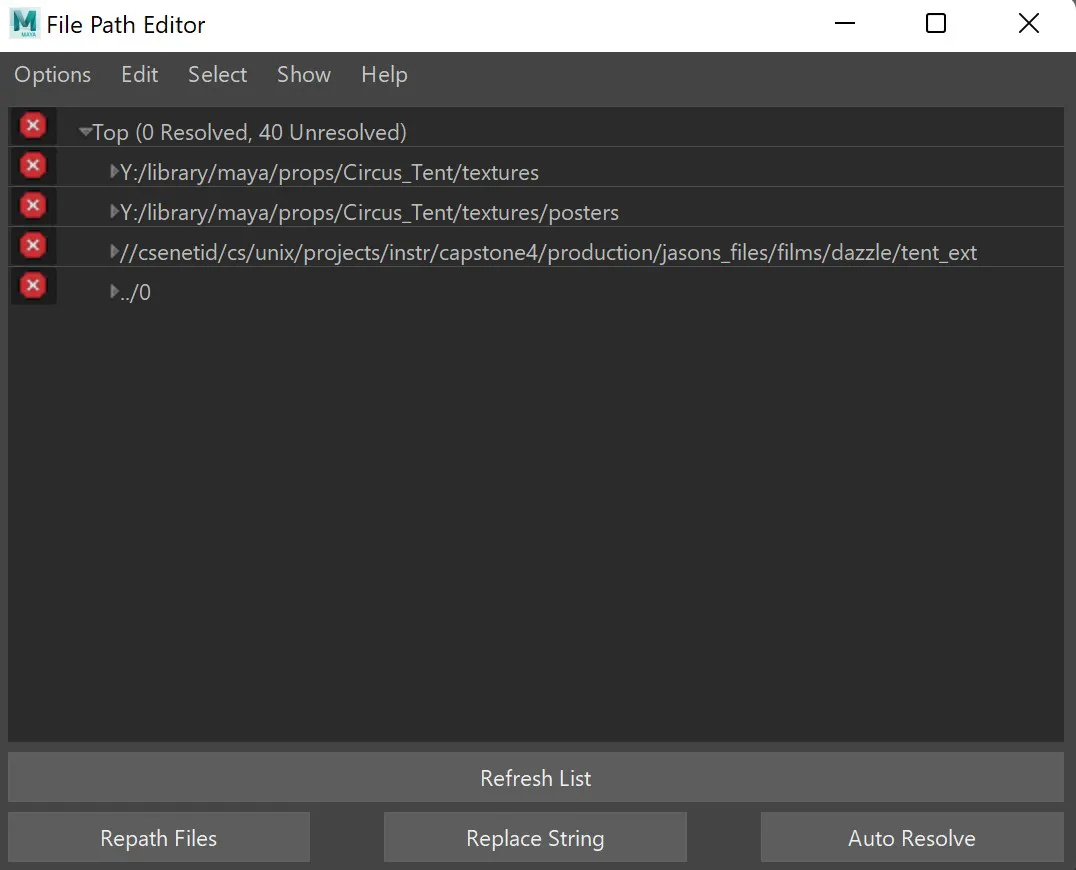 Editor Window.
There are two things one can do, the easiest is selecting it, then Auto-Resolve.
Auto resolve requires that your new file structure has similar file hierarchy before you move (Which is true for most of the time), and works for most of the time.
However, if that doesn’t work, you will just have to select the problematic path and click Repath, then manually input the correct directory that contains your target files.
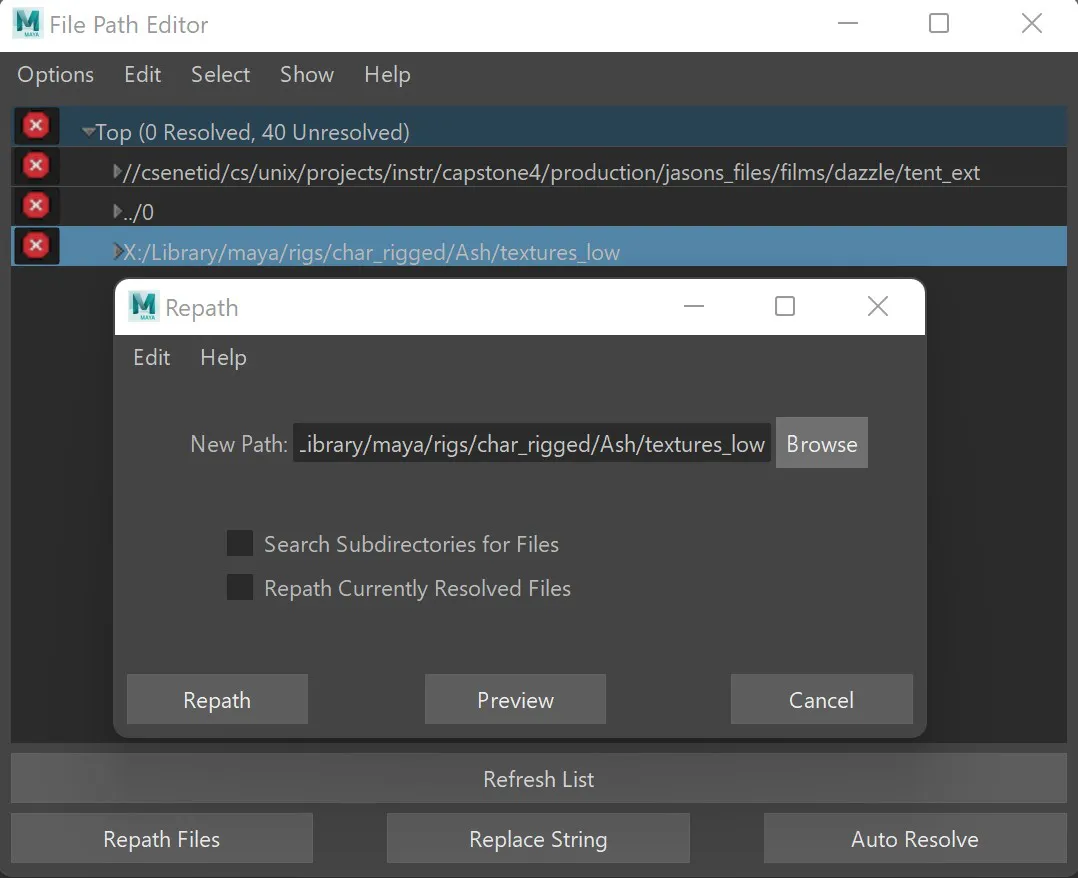 Repath.
In the end, we want either all the items in the file path editor to disappear, or the remaining items are marked with a green check mark, indicating all the file path issues are fixed.
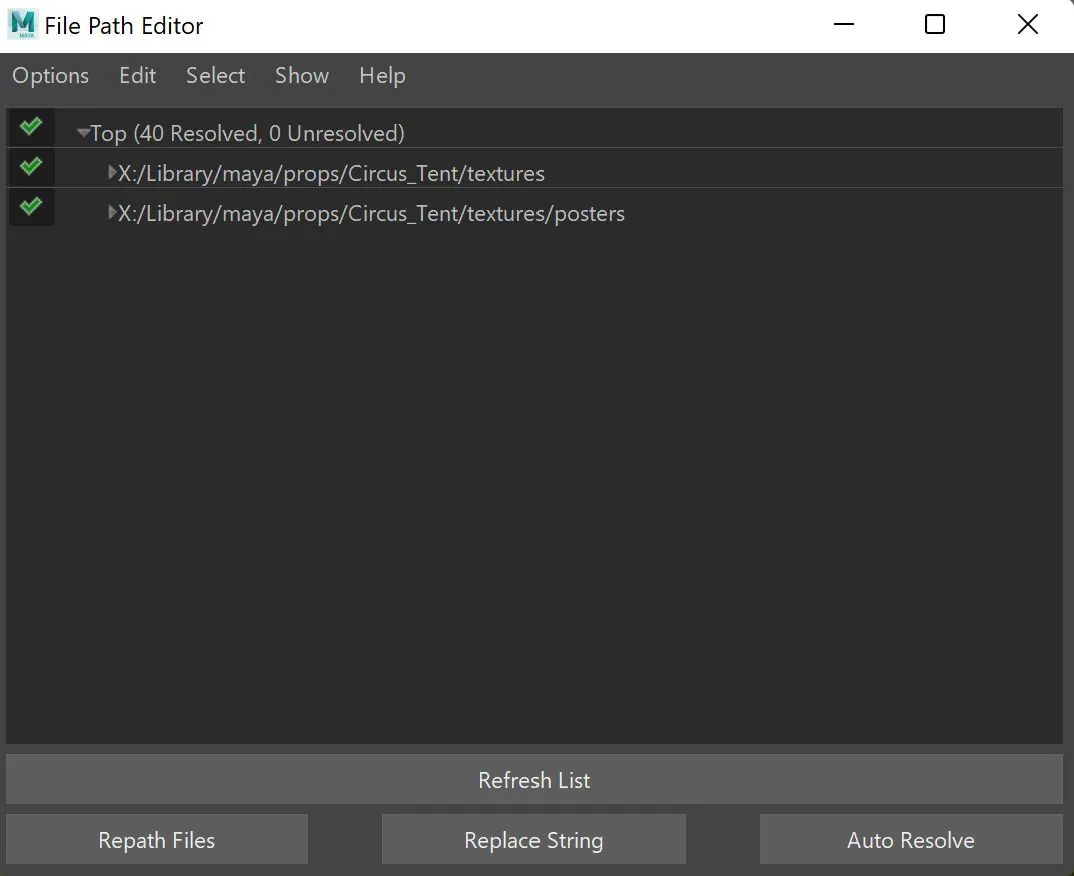 Green Lit.
And finally, all textures and other resources of our target model should appear!
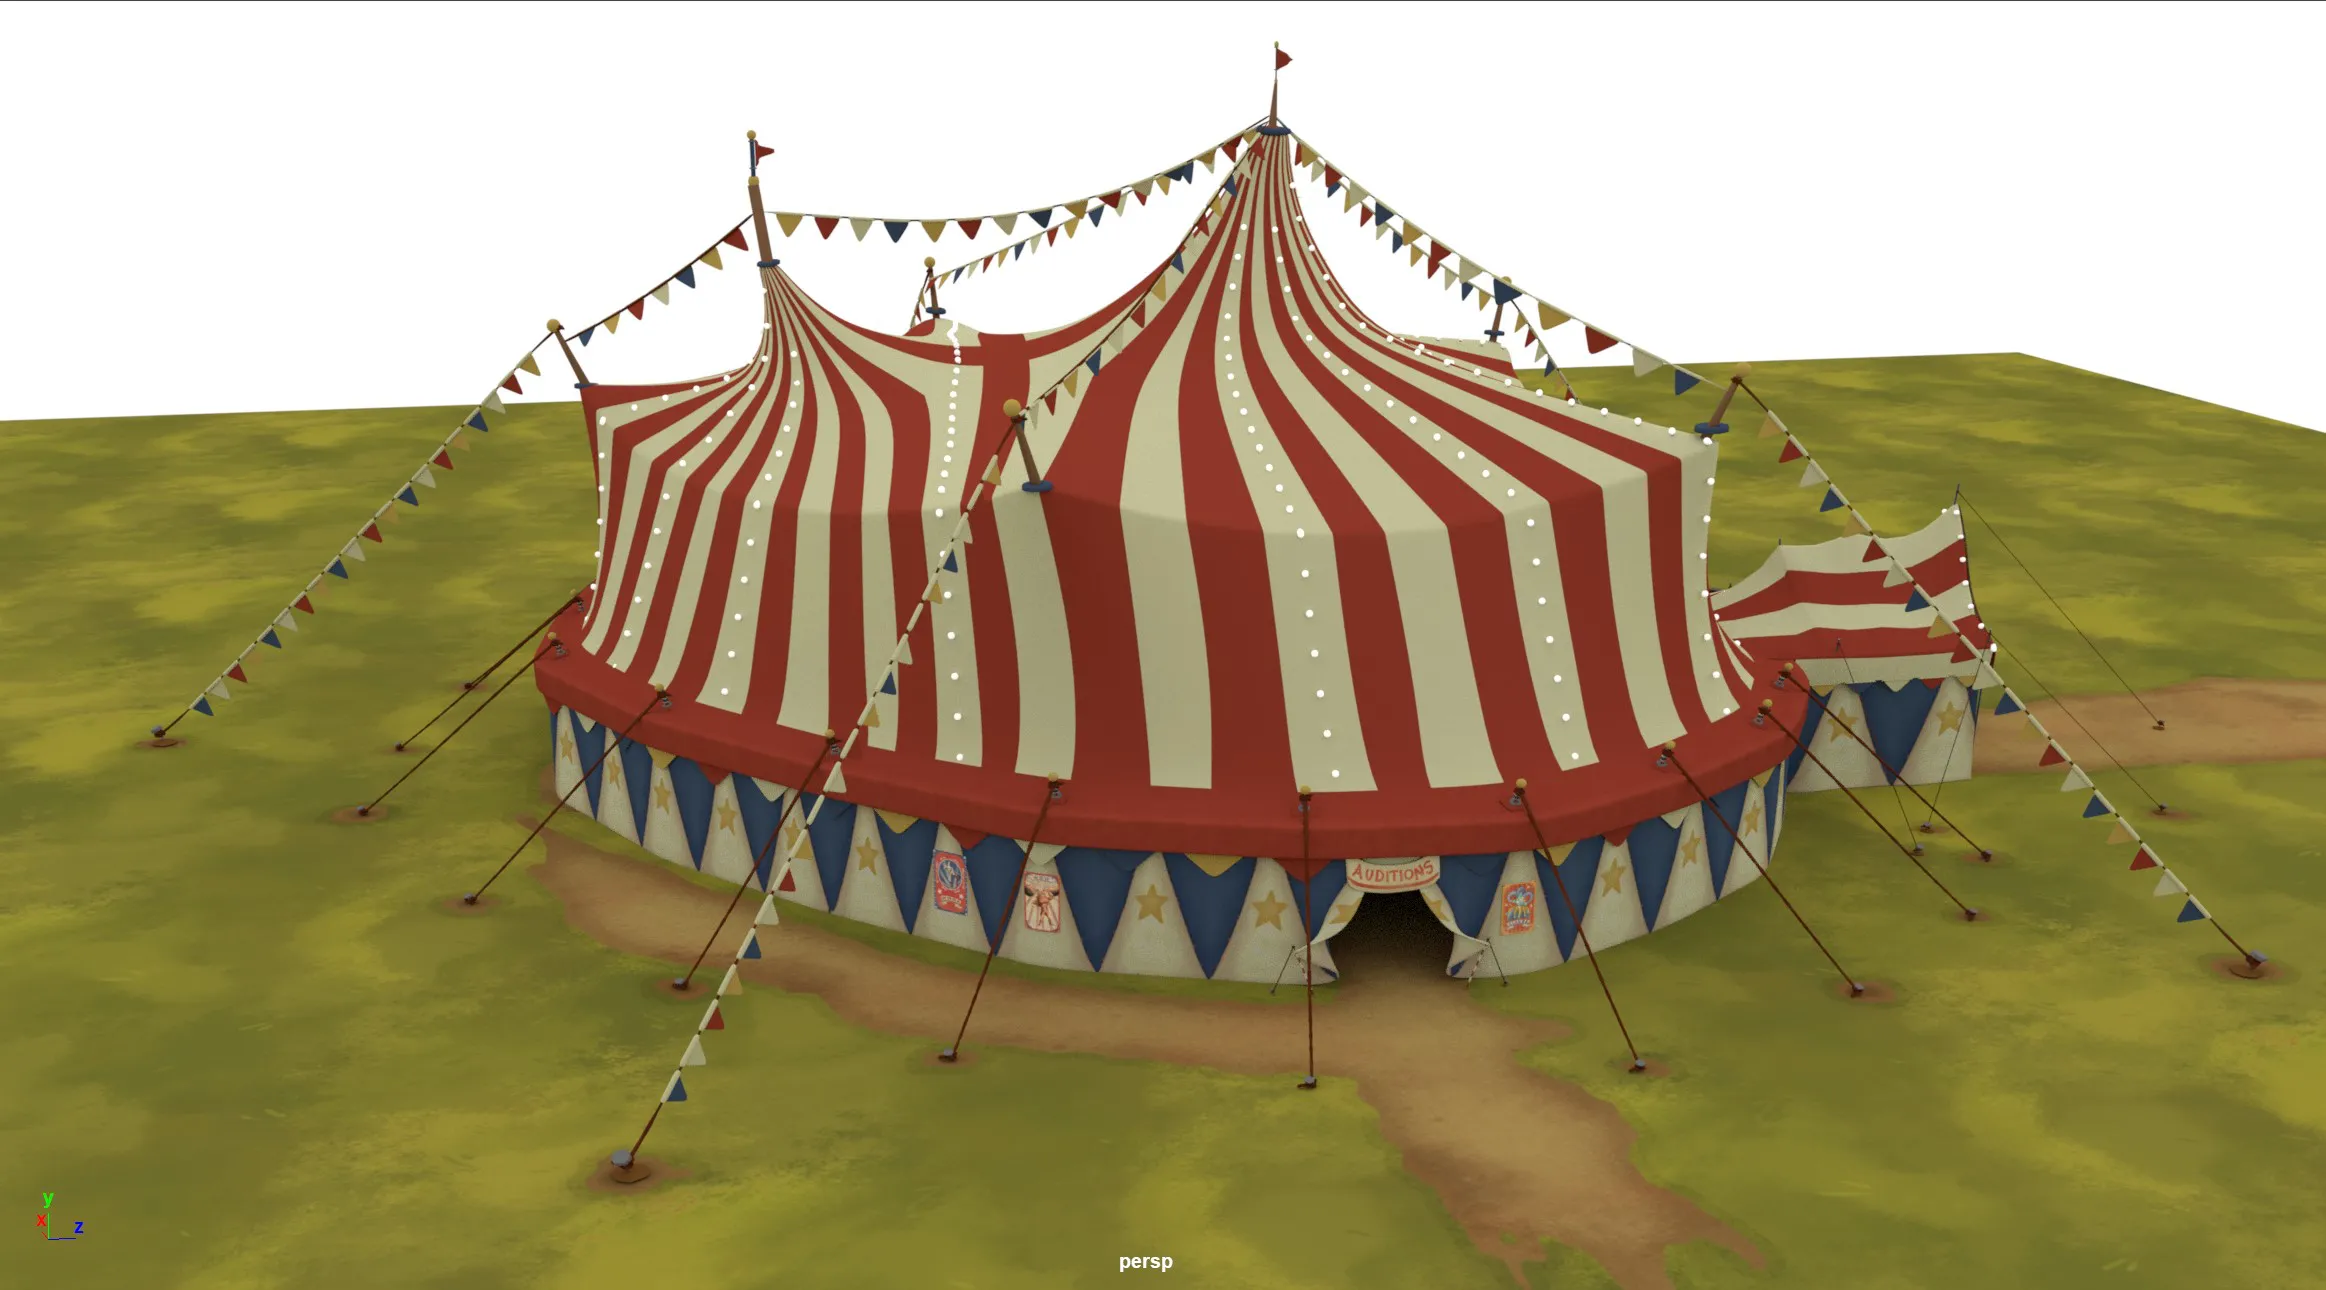 Fixed, textured model.


